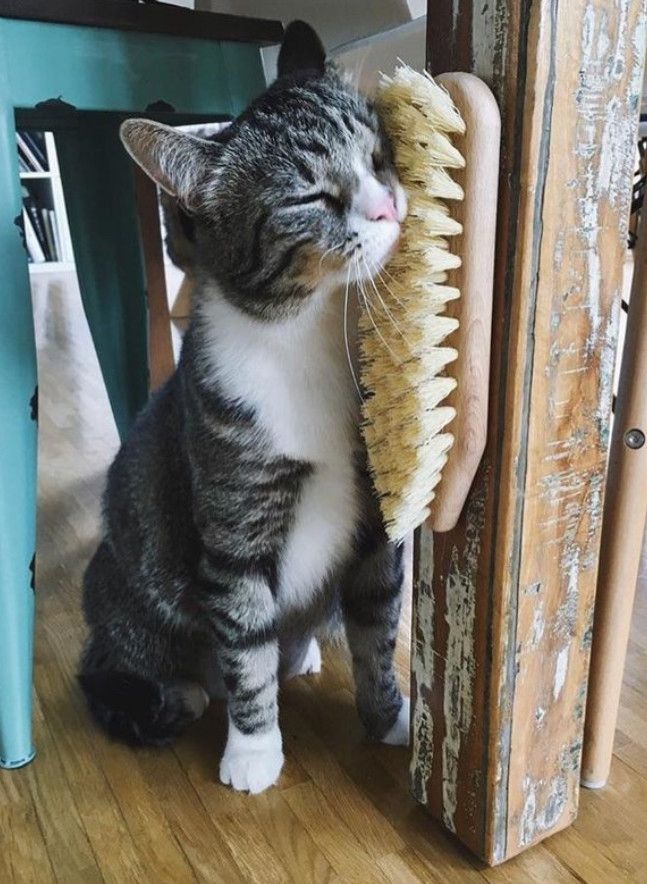
If you don’t have a self-groomer station, your kitties will resort to scratching your couch and tagging on our curtains.
Self-groomer stations don’t have to be complicated—you can easily make a good one by repurposing some materials in your house.
Here are 4 self-groomer stations that your cat will love.
1. DIY Colourful Cat Self-groomer Station
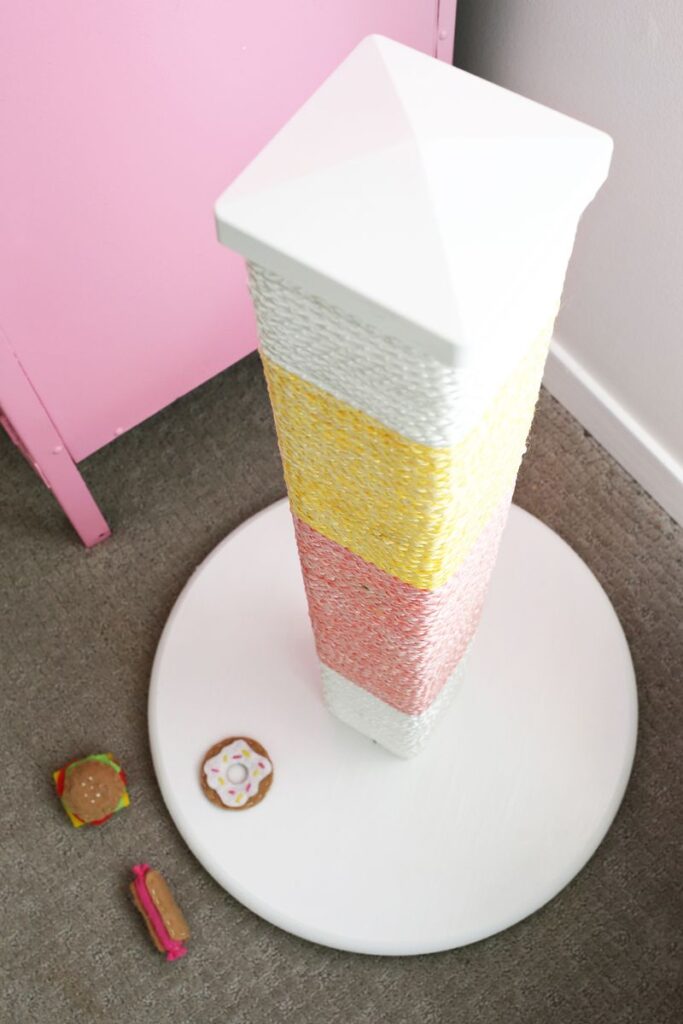
Store-bought cat scratchers can be dull. But you don’t have to settle—make a multicolor cat scratch that will make your living room pop.
What you need
- An 18 inch round wood circle
- A drill
- Long screws
- A 4×4 inches post cap (preferably white)
- Yellow and pink dye
- White paint
- 150 feet nylon rope
- Bucket
- Salt
- Pink and white electrical tape
Steps To Follow
- Attach your post to the round wood which will act as the platform. Place your post in the middle of the platform and trace around using a pencil to see where you need to put the screws.
- Drill holes inside the traced area using a drill bit that is smaller than your screws
- Flip your platform and line it up with the post with the traced area. Use the pre-drilled holes as guidance on where to screw. You might need the assistance of someone to hold the wood as you drill.
- Once done, you can then paint the platform with white paint.
- The next step is to dye your rope. Put the yellow and pink dye in individual buckets, cut the rope into three equal lengths and place two in the respective buckets. You want one white piece so you only die two. The rope should be fully dyed after around 30 minutes.
- Once the dye has stuck, drain the dye and rinse the ropes thoroughly in cold water to remove any loose dye.
- Once the dyed ropes are fully dried, staple gun the end of the white rope at the base of the post and then tie it around the post going upwards making sure not to leave any spaces in between.
- Once you run out of white rope, connect it to the blue rope using white tape and do the same with the yellow rope.
- Use a staple gun or a small nail to secure the end of the rope and then glue the post cap on top of the post. The result will be an aesthetically appealing self-grooming post
2. DIY Vase Self-groomer Station
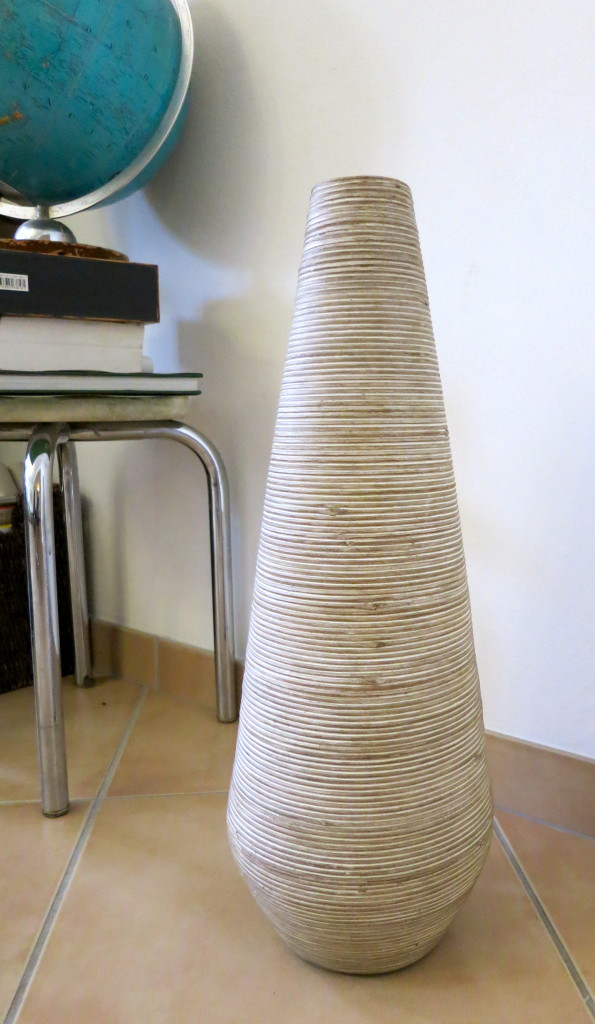
This is a pretty straightforward self-groomer idea because it doesn’t require too many materials.
What you need
- A ceramic vase – it can be of any shape as long as it is sturdy and heavy.
- Sisal rope
- `pebbles, rocks, or broken ceramic pieces
- Slate board
Steps to Follow
- Put as many pebbles/rocks/broken ceramic pieces in the vase as possible. This will help to anchor it to stop it from tipping over when the cat starts using the groomer.
- Beginning at the base of the vase, wrap the sisal rope around the vase. You can use a hot glue gun to make sure the rope sticks firmly and tightly around the vase.
- To make the groomer even studier, hot glue its base to a slate board.
3. DIY Toilet-brush Self-groomer Station
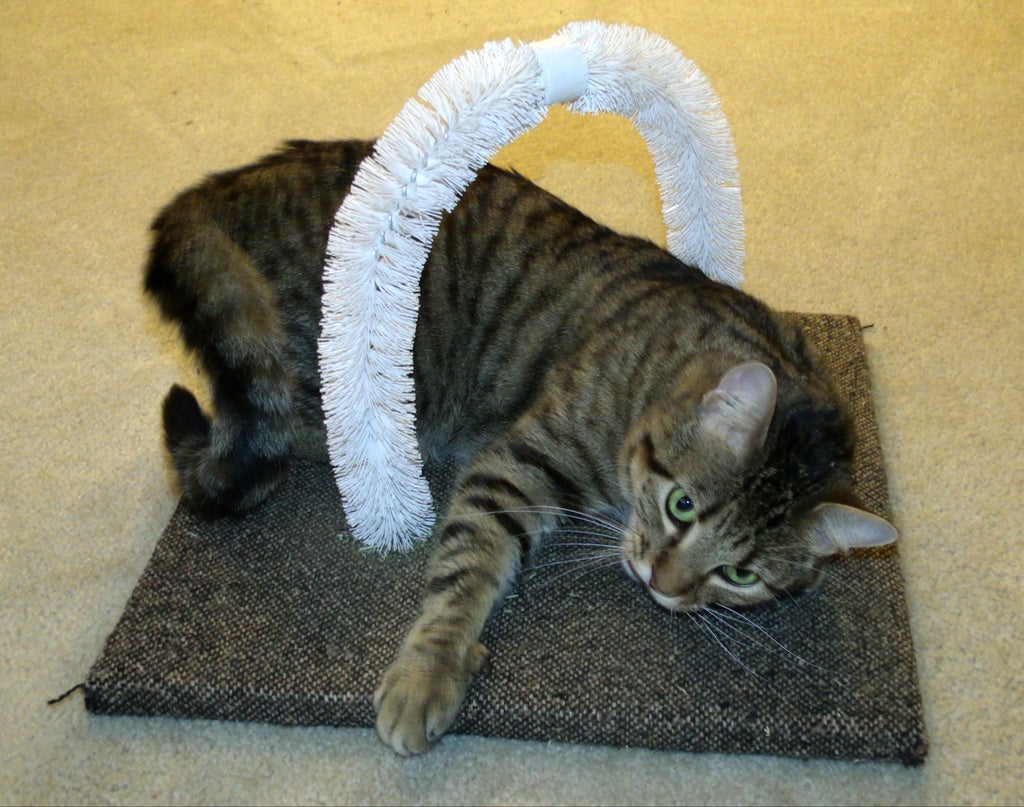
This is another easy-to-make self-grooming station that you can put together with materials you already have in your house.
What You Need
- A drill
- Two toilet brushes
- A piece of soft fabric or carpet
- A piece of blockboard(1x1x1 inches)
- Hot glue or guerilla glue
- A sharpie
- A yardstick
- Spray paint (optional)
- Staple gun (optional)
Steps to Follow
- Disassemble the brushes by removing them from their handles
- Get a small spherical piece of wood or plastic and drill a hole at its center. You can then squeeze one end of the toilet brush through and connect the exposed wire to the other one from the second brush. The goal is to have the small piece of wood covering the wires that join the two.
- Once the two brushes are connected into one long brush, you can go ahead and glue your fabric on the clock board.
- Use a yardstick to find the center of your board and then measure 4 inches from the center to the right and the left and mark the two positions with a sharpie.
- Drill holes through the board at the sharpie markings. The holes should be big enough to fit the ends of the brush
- Glue each end of the brush and squeeze them into the respective holes such that you will have a loop on the board
- Place the finished grooming station at a corner and wait for the cat to start using it. You can place some catnip to attract him to the station.
4. L-shaped Self-groomer Station
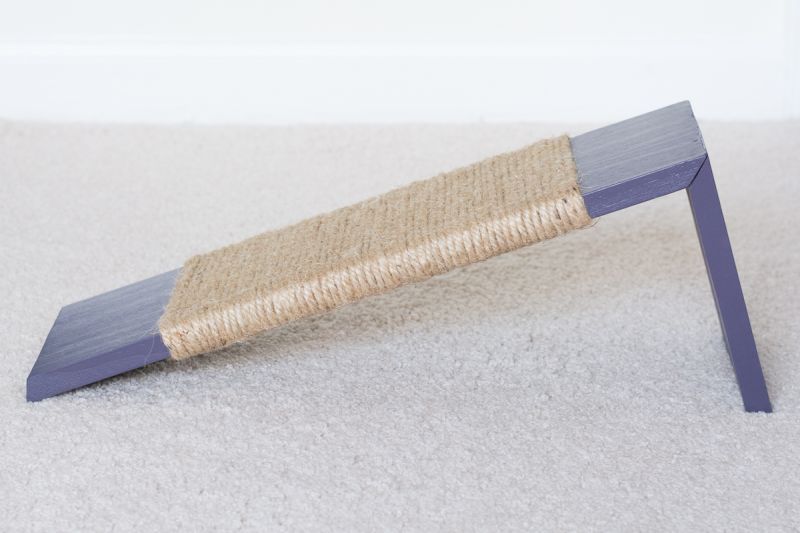
The L-shaped cat groomer is a sleek and yet easy-to-make cat self-groomer. You can have fun with it by painting it to the color of your liking.
What You Need
- Two pieces of wood
- Sisal rope
- Protective glasses
- Miter saw
- Glue
- Paint
- Nail gun
- Hand-held staple gun
- Sandpaper
Steps to Follow
- Start by deciding how long, high, and wide your cat groomer should be. Then cut the pieces of wood to match your length requirements. One-piece needs to be long while the other one should be short. The goal is to make an L-Shape when done.
- Juxtapose the two pieces of wood together and cut at an angle of 45 degrees on both edges of the wood so that you can join the two into a right angle.
- Using your sandpaper, smooth out any jagged spots, and then paint the wood into the color of your choice
- Once the paint has dried, grab your sisal rope and staple it at the center of the longer piece of wood. From there, wind the sisal around the wood. You can add some glue to the wood to make sure the sisal rope sticks firmly in position when the cat starts using it.
- Once the rope has been tightly fixed, attach the two pieces of wood using a nail gun or a very strong glue to make an L-shape. If you use nails, fill the holes left with putty and paint over for a nice and smooth finish.
- You can then place the L-shaped groom on the floor such that the long plank of wood makes a slant rising from the floor to where it joins the shorter piece of wood.
So there you have it – 4 awesome DIY cat self groomer stations that you can make for your kitty.
Don’t worry about those boring off-shelf groomers. You can customize the ideas shared above to match your décor.
Try it out and make the life of your kitty more interesting especially when they are home alone.

Hi! I am Eleanor Price. I started this website after my cat, Louie, almost died from a case of botulism (a type of food poisoning often caused by bacteria that grow on food items). Turned out that my cat’s diet was the problem. I have made it my duty to provide the best information and recommendations about everything cat lovers need to know about their felines’ health and wellbeing. My goal is to find the most informative content on anything feline-related and share it with fellow hardworking kitty lovers.

